Troy-bilt Super Bronco User Manual
Browse online or download User Manual for Gardening equipment Troy-bilt Super Bronco. Troy-Bilt Super Bronco User Manual
- Page / 32
- Table of contents
- TROUBLESHOOTING
- BOOKMARKS
- Operator’s Manual 1
- TABLE OF CONTENTS 2
- FINDING MODEL NUMBER 2
- CUSTOMER SUPPORT 2
- SECTION 1: SAFETY 3
- Maintenance and Storage 4
- Operating Symbols 5
- SECTION 2: ASSEMBLY 6
- STEP 4: INSTALL FORWARD 7
- CLUTCH CABLE 7
- STEP 6: CHECK TRANSMISSION 9
- OIL LEVEL 9
- STEP 7: ADD MOTOR OIL 9
- STEP 8: CHECK HARDWARE 9
- WARNING: Before 10
- WARNING: Never allow 10
- WARNING: Do not place 10
- WARNING: Before starting 11
- WARNING: Use extreme 11
- WARNING: Do not attempt 11
- SECTION 4: OPERATION 12
- OPERATING THE TILLER 13
- TILLING TIPS & TECHNIQUES 14
- LOADING AND UNLOADING 16
- THE TILLER 16
- SECTION 5: MAINTENANCE 17
- BOLO TINES 18
- CHECKING AND ADJUSTING 19
- FORWARD DRIVE BELT TENSION 19
- WARNING: Operators 21
- TROUBLESHOOTING 22
- PART NO. DESCRIPTION 27
- 12 x 4 x 6 RH (B) 29
- 12 x 4 x 6 LH (B) 29
Summary of Contents
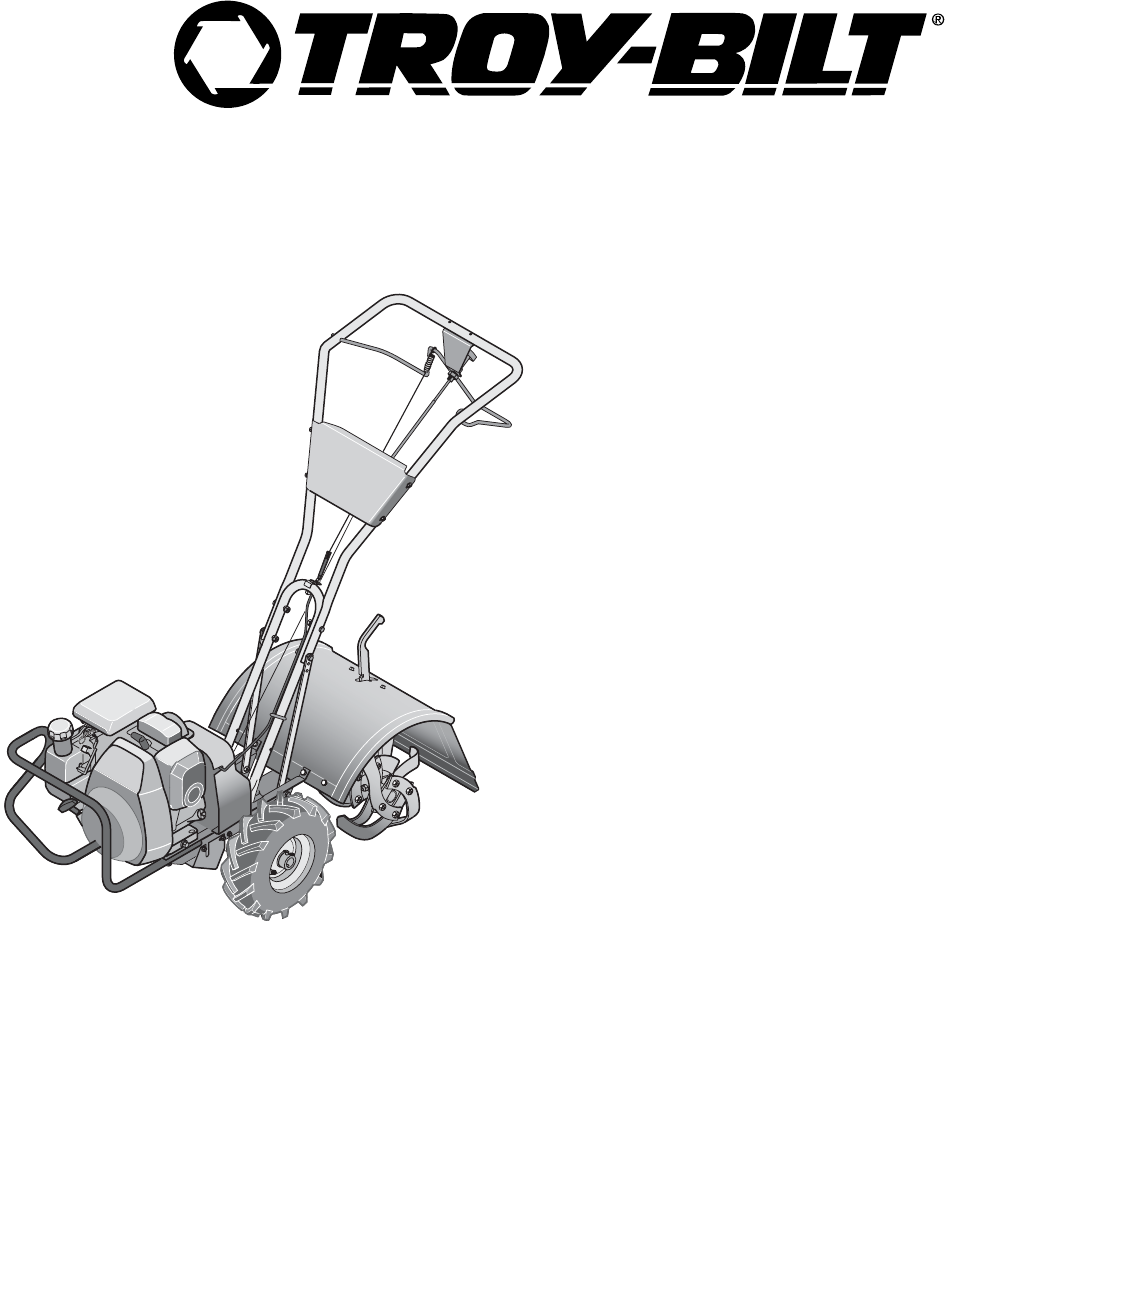
Rear-tine Tiller Models BroncoSuper BroncoPro-LineOperator’s ManualPRINTED IN U.S.A.769-02357B.fm2/26/07FORM NO.IMPORTANT: Read safety rules and instr
10WARNING: Before operating your machine, carefully read and understand all safety, controls and operating instructions in this Manual, the separate E
11WARNING: Before starting engine, be sure that both wheels are in WHEEL DRIVE position. See Wheels Drive Pins for instructions.Engaging the Forward C
12WARNING: Before operating your machine, carefully read and understand all safety (Section 1), controls (Section 3) and operating instructions (Secti
13Stopping the Engine and Tiller1. To stop the wheels and tines, release the Forward Clutch Bail (all models) or the Re-verse Clutch Control (Super Br
14Preparing Seedbeds Tilling wet soil often results in large, hardclumps of soil that can interfere with plant-ing. If time permits, wait a day or two
15Tilling On SlopesRead the following recommendations before tilling on slopes:If you must garden on a moderate slope, please follow two very importan
16Terrace Gardening (continued)• To create a terrace, start at the top of the slope and work down. Go back andforth across the first row as shown in F
17WARNING: Before inspecting, cleaning or servicing the machine, shut off engine, wait for all moving parts to come to a complete stop, disconnect spa
184. The gear oil level is correct if the gear oil is approximately halfway up the side of the main drive shaft.5. If the gear oil level is low, add g
19CHECKING AND ADJUSTING FORWARD DRIVE BELT TENSIONIt is important to maintain correct tension on the forward drive belt. A loose belt will cause the
2TABLE OF CONTENTSFINDING MODEL NUMBERThis Operator’s Manual is an important part of your new tiller. It will help you assemble, prepare and maintain
20FORWARD CLUTCH BAIL ADJUSTMENTIf the Forward Clutch Bail does not func-tion properly, first check that the forward drive belt is adjusted properly (
213. Clean around the oil dipstick or oil fill tube (whichever applies) to prevent dirt from falling into the crankcase. 4. On engines with an oil fil
22TROUBLESHOOTINGPROBLEM POSSIBLE CAUSE CORRECTIONEngine does not start 1. Spark plug wire disconnected. 1. Reconnect wire.2. Engine Throttle Control
23NOTES
24!!MODELS BRONCO, SUPER-BRONCO & PRO-LINE
25MODELS BRONCO, SUPER-BRONCO & PRO-LINEREF NO.PART NO. DESCRIPTION1 686-04076 Tine Hood Assembly (A)686-04077 Tine Hood Assembly (B) (C)2 710-039
26MODELS BRONCO, SUPER-BRONCO & PRO-LINE* Use as required to obtain between .005” and .015” allowable end-play.REF NO.PART NO. DESCRIPTION1 GW-951
27MODELS BRONCO, SUPER-BRONCO & PRO-LINE* Use as required to obtain between .005” and .030” allowable end-play.REF NO.PART NO. DESCRIPTION2 190995
282237171527204723298371732271520626110141618431115937243834419271413404512463421484423523394826363263443328353122633283522313072423642184311413830AAB
29MODELS BRONCO, SUPER-BRONCO & PRO-LINEREF NO.PART NO. DESCRIPTION1 736-0159 Flat Washer, 5/162 756-04198 Pulley, Engine Drive3 656-04023 Transmi
3Training1. Carefully read this Own-er’s Manual, the separate Engine Owner’s Manual, and any other literature you may receive. Be thoroughly familiar
30NOTES
31NOTES
TROY-BILT TILLER LIFETIME LIMITED WARRANTYWHAT PRODUCT All Troy-Bilt branded rear tine walk-behind tillers with gear drive transmissions.IS COVERED T
45. If the unit should start to vibrate abnor-mally, stop the engine, disconnect the spark plug wire and prevent it from touch-ing the spark plug, and
5DecalsFor your safety and the safety of others, vari-ous safety and operational decals are located on your unit (see Figure 1-2). Keep the decals cle
6WARNING: To prevent personal injury or property damage, do not start the engine until all assembly steps are complete and you have read and understan
73. Slide the wheel fully inward on the wheel shaft (N, Fig. 2-3). Reinstall the wheel drive pin (M) through the wheel shaft only (not through the whe
84. Check for correct tension on the forward drive belt by taking two measurements of the cable spring, as follows:a. With the Forward Clutch Bail (Y,
9STEP 6: CHECK TRANSMISSION OIL LEVEL The transmission was filled with gear oil at the factory. However, you should check the gear oil level at this t
Related products and manuals for Gardening equipment Troy-bilt Super Bronco


 (32 pages)
© 2020, manymanuals.com. All rights reserved. | 0.049 s |
 Manymanuals.com
 Manymanuals.de
 Manymanuals.fr
 Manymanuals.it
 Manymanuals.pl
 Manymanuals.cz
 Manymanuals.es
 Manymanuals-pt.com
Comments to this Manuals